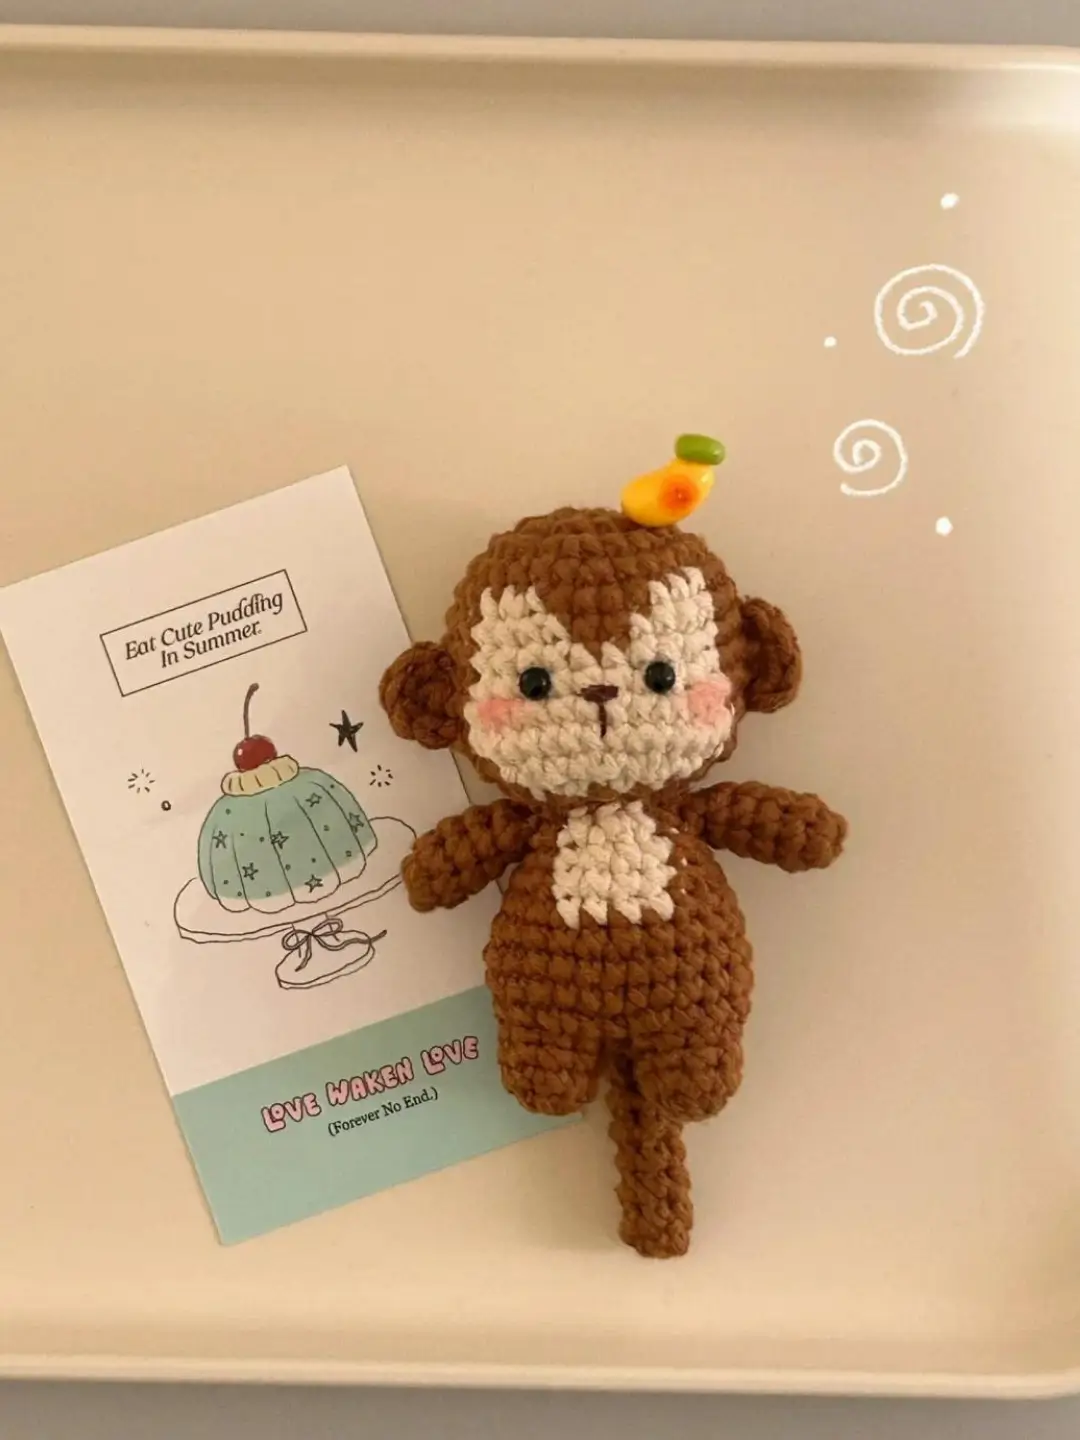
🐒 Create your own adorable monkey friend with this beginner-friendly crochet pattern! This cute little monkey amigurumi is perfect for gifting, decorating your space, or adding to your handmade collection. With simple stitches and clear instructions, you’ll have a huggable monkey in no time.
Key Takeaways
- 🧶 Beginner-friendly pattern with step-by-step instructions
- 🐵 Create a cute monkey that’s perfect for gifts
- ⏱️ Complete this project in just a few hours
- 📏 Finished monkey is approximately 6 inches tall
- 🧸 Customizable with different yarn colors
Materials&Tools
- Yarn
- Polyester Fiberfill
- 2.25mm Hook(What I used in this pattern)
- Yarn Needle
- Glue (To connect the parts, you can also sew with yarn)
Abbreviation
- ch – chain
- sc – single crochet
- inc – increase (2 single crochets in one stitch)
- dec – decrease (merge 2 single crochets into 1)
- hdc – half double crochet
- dc – double crochet
- sl st – slip stitch
- magic ring – adjustable ring to start crocheting in the round
- BLO – back loop only
- FLO – front loop only
How to Read Pattern?
- R5: ch, [1 sc, sc inc] x 6, sl st
In Round 5, start with a chain stitch, then repeat the pattern “1 single crochet, single scrochet increase” 6 times. End with a slip stitch.
- (sc+sc+sc)
Parentheses ( ) indicate that all stitches within them are worked into the same stitch. So ‘(sc+sc+sc)’ means working 3 single crochet stitches all into the same stitch.
Pattern Info
Tail
- Start with magic ring
- R1: 5 sc
- R2-R8: 5 sc
- R9: 3 sc, dec
- Cut yarn, leave long tail for sewing
Head (Change color in the stitches with underline)
- Start with beige yarn, white parts marked in red
- Start with magic ring
- R1: 8 sc
- R2: 8 inc
- R3: [sc, inc] x 8
- R4: [5 sc, inc] x 4
- R5: 8 sc, 3 sc, 4 sc, 3 sc, 10 sc
- R6: 8 sc, 4 sc, 2 sc, 4 sc, 10 sc
- R7-8: 8 sc, 10 sc, 10 sc
- R9: 7 sc, inc, 3 inc, 4 sc, 3 inc, inc, 9 sc
- R10: 10 sc, 14 sc, 12 sc
- R11: [sc, dec] x 4, [sc, dec] x 3, sc, dec, [sc, dec] x 4
- R12: 12 dec
Note: Set eyes between R8-R9, sk 4 stitches between eyes. Embroider nose and cheeks between R8-R9.
Arms x 2
- Start with magic ring
- R1: 6 sc
- R2-R5: 6 sc
- Cut yarn, stuff with fiberfill, leave long tail for sewing
Legs + Body (Change color in the stitches with underline)
- Start with beige yarn, white parts marked in red
- Start with magic ring
- R1: 8 sc
- R2-R3: 8 sc
- Make two legs, cut yarn on first leg, keep yarn connected on second leg
- Use 1 ch to connect both legs
- R4: 8 sc, sc (in joining ch), 8 sc, sc (in joining ch)
- R5: [sc, inc, sc] x 6
- R6: 20 sc, 2 sc, 2 sc
- R7: 24 sc
- R8: [4 sc, dec] x 4
- R9: 8 sc, 4 sc, 8 sc
- R10: sc, dec, 3 sc, dec, 4 sc, dec, 3 sc, dec, sc
- R11: 6 sc, 4 sc, 6 sc
- R12: dec, 3 sc, sc, sc, dec, sc, sc, 3 sc, dec
- Cut yarn, leave long tail to sew to head
Ears
- Crochet in the R7,R8,R9 of Head
- R1: 1 ch, 4 dc in 1 stitch, sl st
Explore More Patterns
Looking for more adorable creatures to crochet? Check out these delightful patterns: