In 2018, I stumbled upon amigurumi (crocheted toys) and instantly fell in love. Since then, I’ve accumulated quite a collection of materials for my projects. To help beginners avoid common pitfalls, I’d like to share my recommendations for essential supplies and getting started.
Essential Materials
The Basics
Every amigurumi project requires:
-
- Yarn
-
- Stuffing
-
- Yarn needles
Yarn:
While any yarn can technically be used for amigurumi, some work better than others. I primarily use worsted weight cotton yarns for my projects. Beginners might want to start with more affordable options before investing in premium yarns.
The image below shows the dramatic difference in size when using the same pattern with different yarn weights! As you can see, your yarn choice significantly impacts the finished size of your amigurumi.
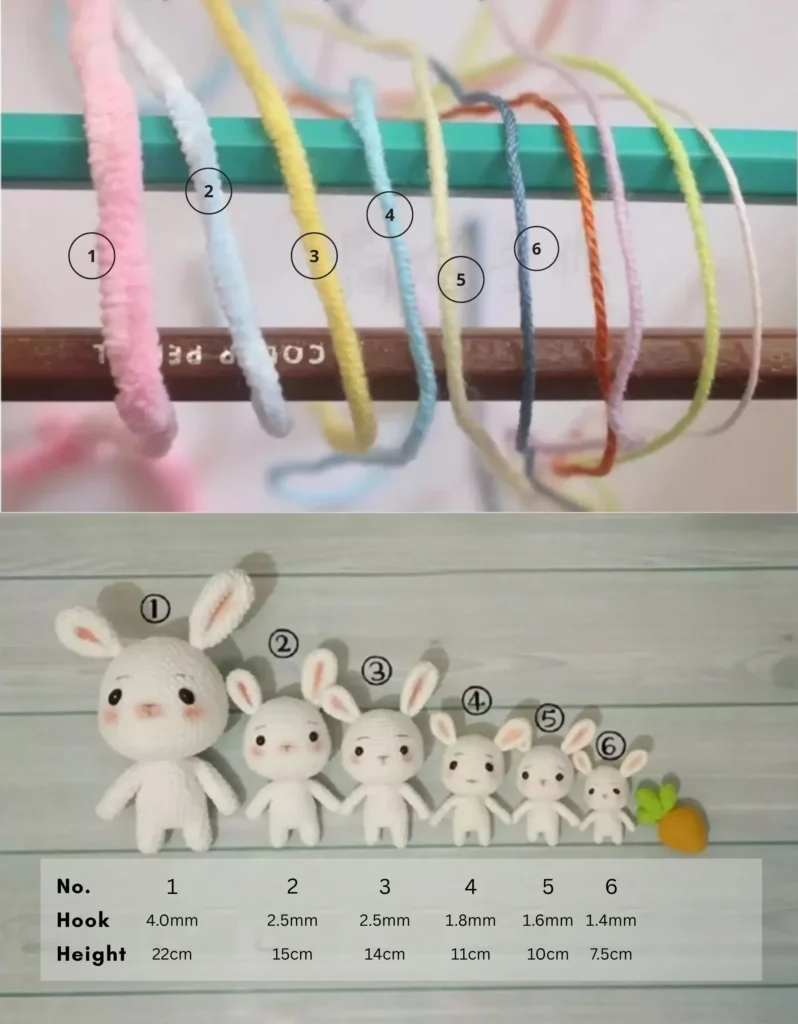
As a general rule, always use a hook size smaller than recommended on the yarn label for amigurumi to create tight stitches that won’t allow stuffing to show through. The thinner your yarn, the smaller your finished doll will be, while thicker yarns create larger amigurumi.
Helpful Tools
Beyond the basics, these tools make amigurumi creation much easier:
a) Safety eyes (various sizes – having a small collection is useful)
b) Pipe cleaners or armature wire for posable limbs (white pipe cleaners are most versatile)
c) Fabric glue for attaching eyes, hair, and other details
d) Straight pins to help with positioning pieces before sewing
e) Blush for adding natural color to cheeks
f) Felt pieces in basic colors (pink, red, white, black) for details like cheeks and eyes
g) Decorative items like ribbon, beads, and small buttons
Zero to Amigurumi: First Steps
Search YouTube for beginner crochet tutorials. Google “amigurumi basics” or “crochet for beginners” to find helpful videos.
Start by learning:
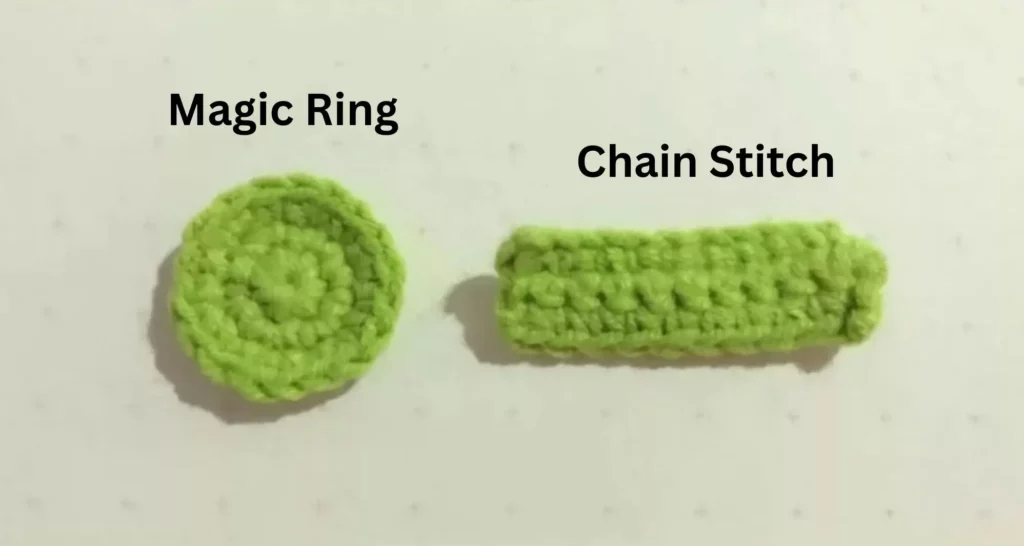
a) Two methods of starting – magic ring and chain stitch beginning (magic ring is ideal for amigurumi)
b) Basic stitches – chain stitch, slip stitch, single crochet, half double crochet, and double crochet. For most amigurumi, single crochet will be your primary stitch.
c) How to read patterns – understanding pattern terminology and symbols is crucial. For example:
-
- “sc” = single crochet
-
- “inc” = increase (2 single crochets in same stitch)
-
- “dec” = decrease (2 stitches worked together)
Example pattern reading:
-
- Round 1: 6 sc in magic ring (6)
-
- Round 2: inc in each st around (12)
-
- Round 3: [1 sc, inc] repeat 6 times (18)
-
- Round 4: [1 sc, inc, 1 sc] repeat 6 times (24)
-
- Round 5: [3 sc, inc] repeat 6 times (30)
Or more simply:
-
- R1: Magic ring, 6 sc
-
- R2: 6 inc
-
- R3: [sc, inc] x 6
-
- R4: [sc, inc, sc] x 6
-
- R5: [3 sc, inc] x 6
This translates to:
-
- Round 1: Create a magic ring and work 6 single crochets into it (6 stitches total)
-
- Round 2: Work 2 single crochets into each stitch (12 stitches total)
-
- Round 3: Work [1 single crochet, then 2 single crochets into the next stitch], repeat this sequence 6 times (18 stitches total)
-
- Round 4: Work [1 single crochet, 2 single crochets into the next stitch, 1 single crochet], repeat this sequence 6 times (24 stitches total)
-
- Round 5: Work [3 single crochets, then 2 single crochets into the next stitch], repeat this sequence 6 times (30 stitches total)
If you’re unsure about starting from scratch, consider purchasing a beginner kit, which often includes all necessary materials and step-by-step instructions.
Finding Resources
Instagram, Pinterest, Ravelry, and YouTube are goldmines for amigurumi inspiration and tutorials. Follow crochet artists (like me @hookedonhook) for regular tips and pattern releases.
Try searching hashtags like #amigurumi, #crochetpattern, or #crochetdoll to find communities and resources.
Many websites (including mine, HookedOnHook.com) offer both free and premium patterns with detailed instructions.
Embrace the Learning Curve
Your first projects may not look perfect, and that’s completely normal! If something doesn’t look right, don’t hesitate to unravel your work and try again. As we often say, “Masters are made through frogging” (frogging = ripping out stitches, “rip-it, rip-it”).
My first amigurumi was quite rough compared to what I create now. I didn’t even understand how to read patterns and was basically guessing at every step. Now I design my own patterns and teach others! Everyone starts as a beginner.
Thank you for reading my beginner’s guide! Happy crocheting!
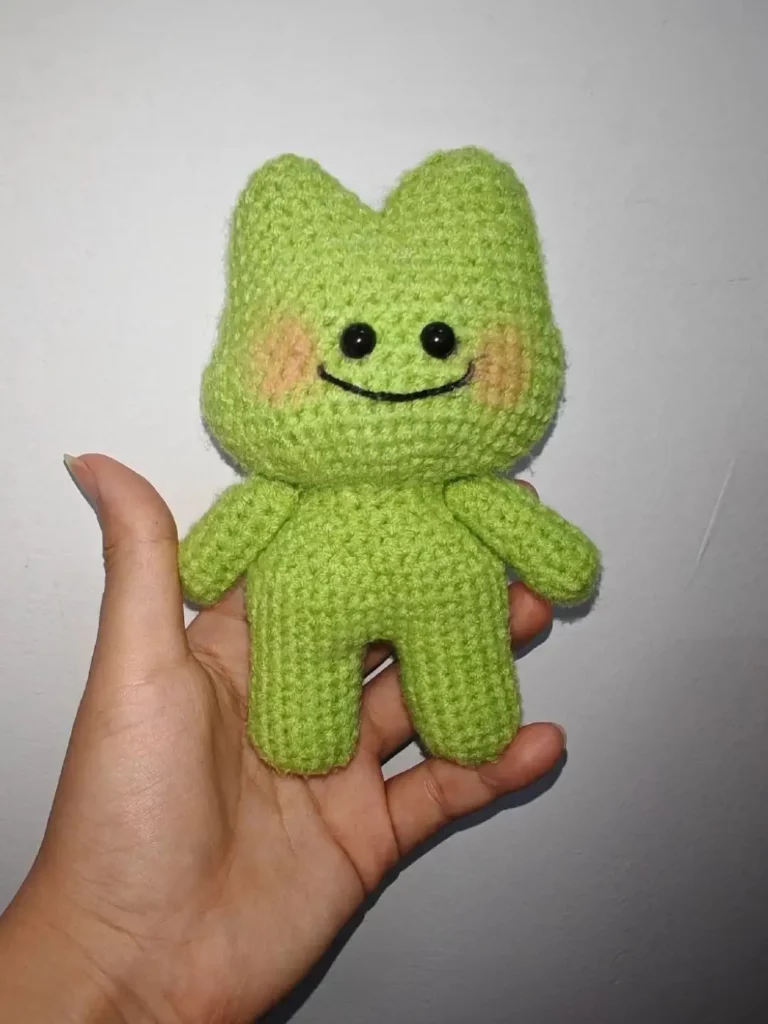
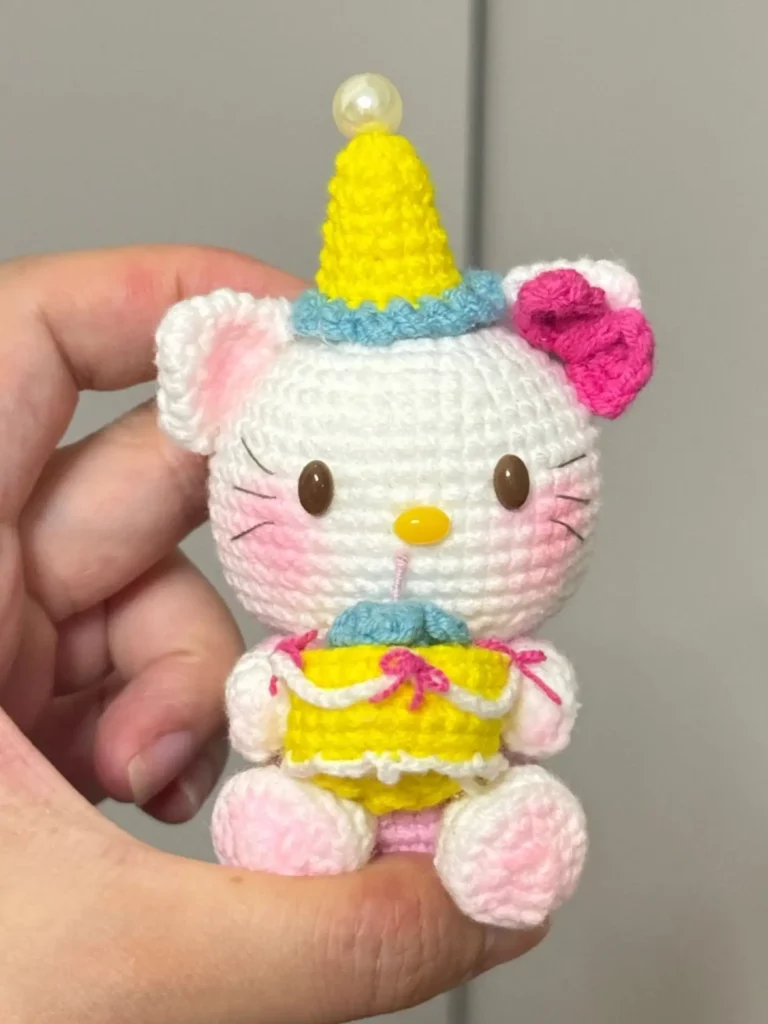
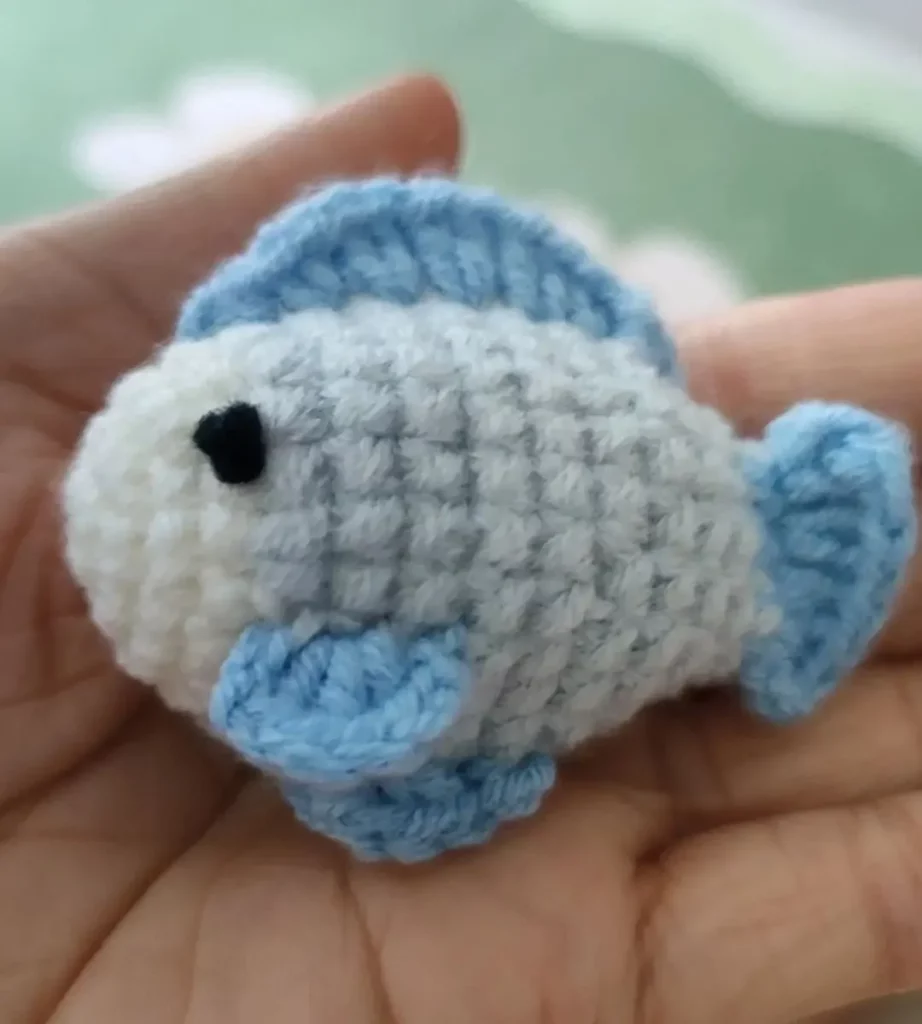
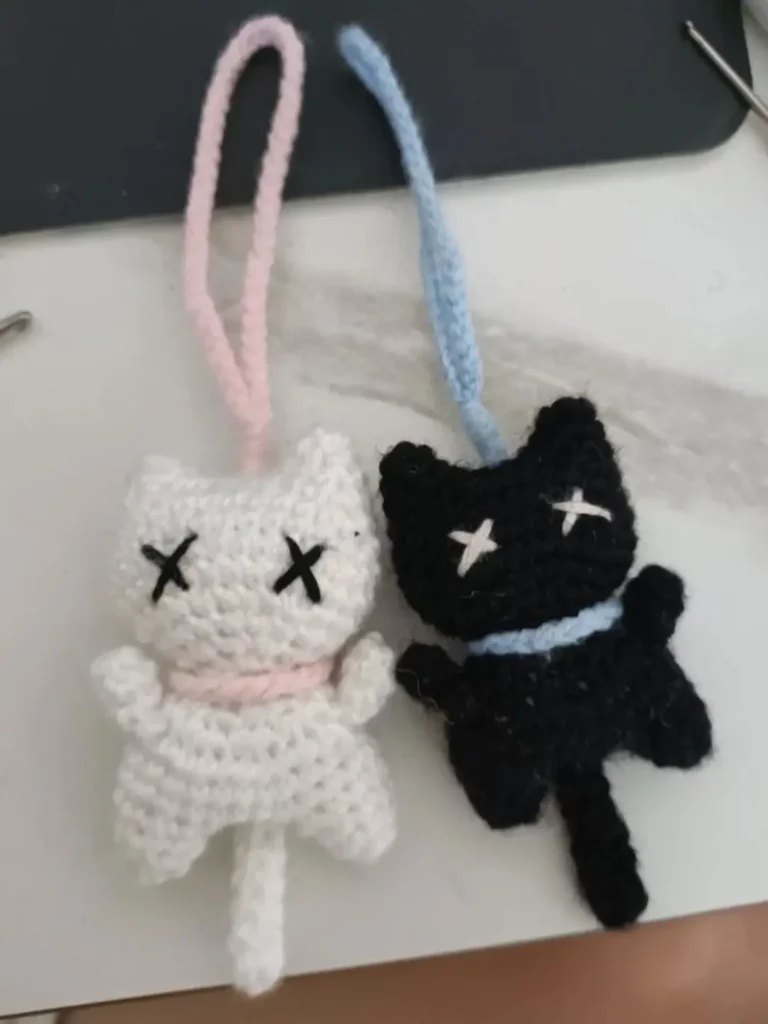
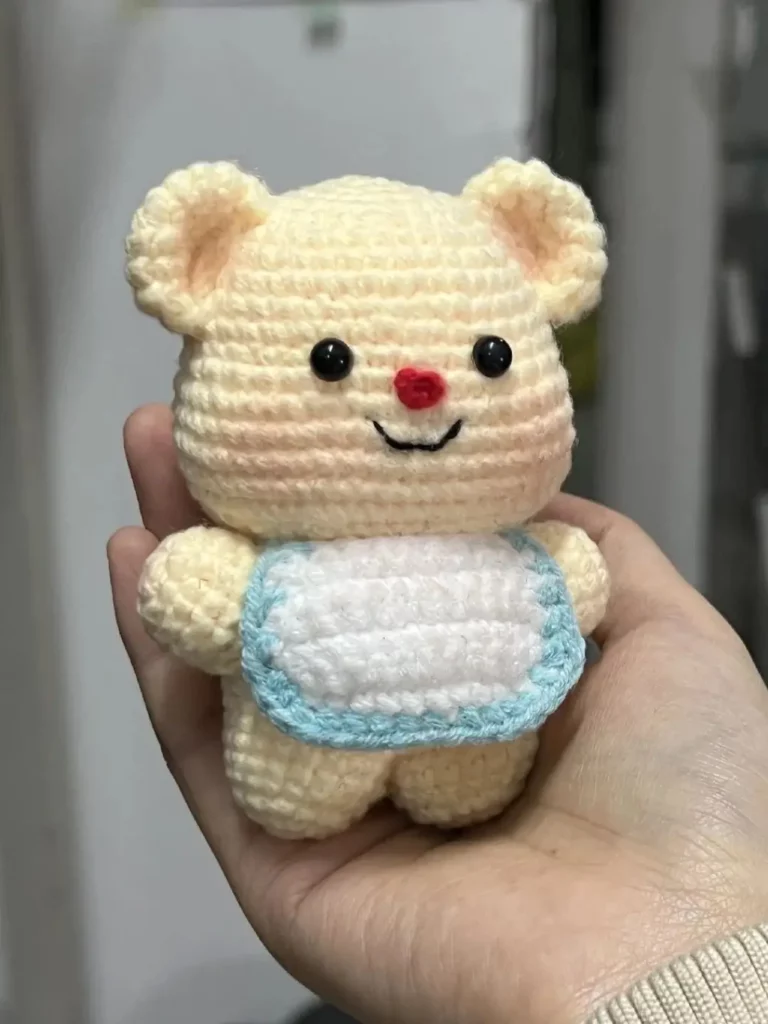
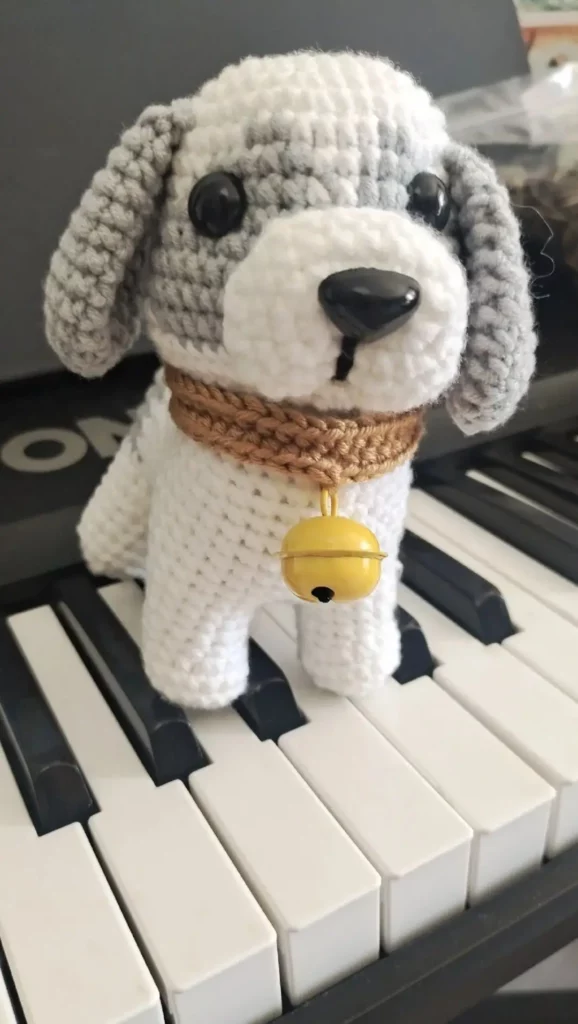
Here are some of the amigurumis I made during my study: